Doom On How to Deal With Wheels, Axles, Chains & Tie Downs When Lashing a Bike to a Packraft
This is the first three in a series of How-To Bikeraft videos we are making for our multi-media and book project, The Bikeraft Guide. This How-To Video Series features multi-sport adventurer Steve “Doom” Fassbinder answering your questions and walking you through different bikerafting techniques. This section specifically addresses how to deal with your wheels, axles, chains and tie downs. Over the next few weeks we’ll post additional How-To and Q&As videos. Email us, or ping us on social media with additional questions @fourcornersguides and @thebikeraftguide.
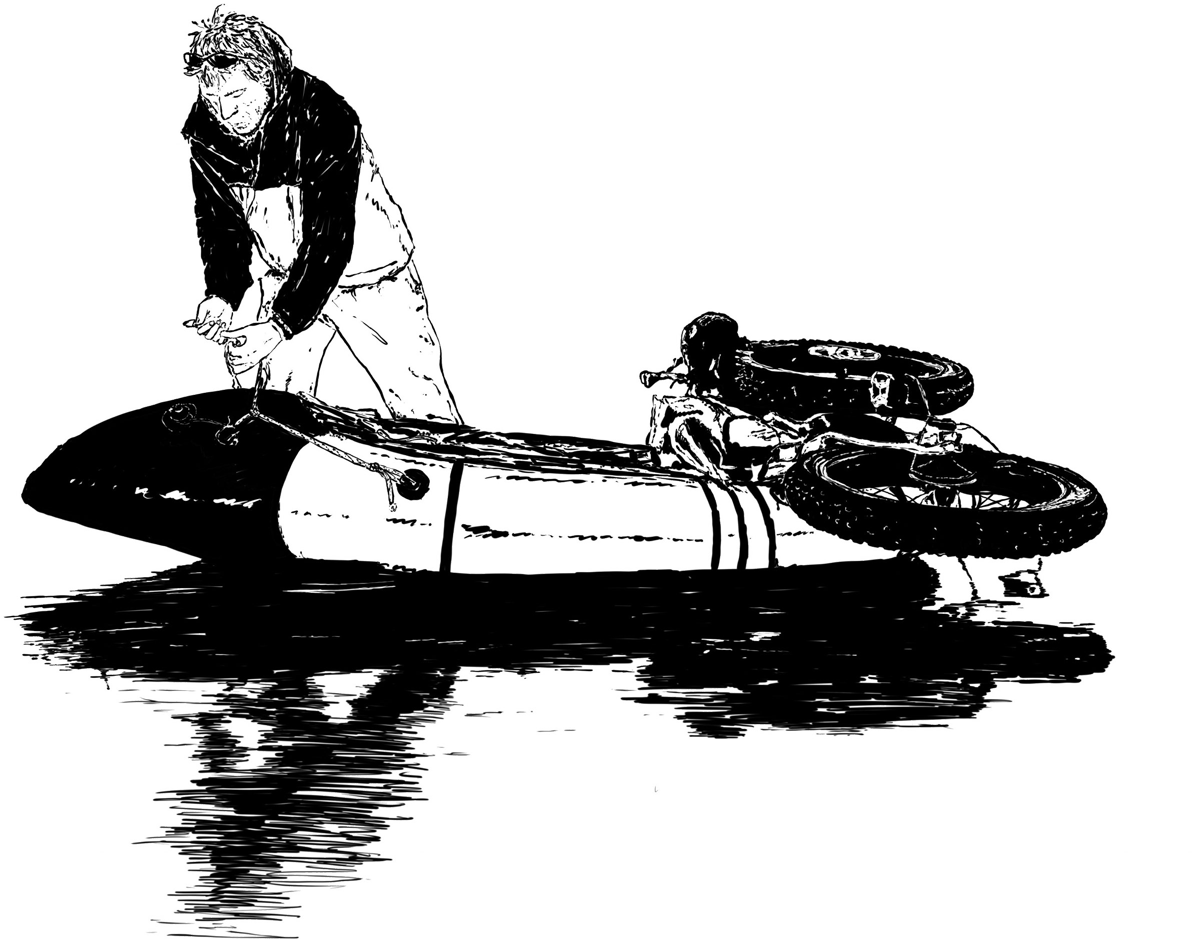
The Bikeraft Guide – How To Put a Bike on a Packraft, with Doom – Dealing with Tie Downs, Wheels, Axles, Chains from Four Corners Guides on Vimeo.
Who Is Doom?
Doom is the lead guide for and co-owner of Four Corners Guides, along with Lizzy Scully. They are writing a how-to, history of, and wild stories about bikerafting guide book. The book project will include various videos featuring Doom, such as this one, along with stories, interviews and videos by, about and featuring more than a dozen bikeraft experts around the world.
Check Out More The Bikeraft Guide Content…
- “The Pirates of Bikerafting,” a story by Huw Oliver: “The Fickle Fjord,” by Huw Oliver.
- “How to Put a Bike on a Packraft: Wheels, Axles, Chains, etc,” Part 1 of the How-To Bikeraft Video Series.
- “How to Lash a Bike Frame to a Boat,” Part 2 of the How-To Bikeraft Video Series.
- “How to Put Bike Wheels on a Packraft,” Part 3 of the How-To Bikeraft Video Series.
- Stay tuned for upcoming stories by Liz Sampey and Jan Zdanski, and check out The Bikeraft Guide for more info.
Transcript
Howdy folks. This is a quick and easy video of how to pack your bike on your boat. We’re not going to get into any of the details right now of different scenarios. This is just your standard, basic, average situation.
This is an Alpacka Series by Alpacka Raft, and your standard mountain bike, hard tail mountain bike for riding. I’m assuming everyone knows how to blow up their boats, so we’re started with a boat fully inflated.
First things first is you want to get your bike ready, and you want to get your straps ready.
So getting your straps ready. Any Voile-type strap works great. If you have a boat with standard grab loops, you just thread them in before you put your bike there. I like to thread them in with the sharp end first, and get those all set up for when you put your bike on. I usually save a long one for the drive side over here.
All right. And then, you take your non-drive side pedal off. The drive side pedal, since the drive side stays up in the air, you don’t take that pedal off.
I always throw my pedals in the frame bag. And, make sure that you don’t have anything valuable in your frame bag because that stuff will get wet.
Take the front wheel off. I always keep my axles either in the frame bag, or I re-install them on the fork or the bike. Whatever you do, don’t lose your axles. You won’t be riding very far if you do.
For the purpose of this video, I’m going to re-install it tight so it can’t fall out. There are pros and cons of keeping your rear wheel on. It really doesn’t matter one way or the other. Sometimes it’s better, sometimes it’s not.
If you have a rack with a thru-axle, it’s typically really hard to get your wheel off because the rack isn’t stabilized anymore. So, if I have a rack on the bike, I normally leave the rear tire on. But, since I don’t have a rack on, we’ll just take the tire off, the wheel off.
I like running my chain over the axle as I put it in, it keeps the chain in a little bit of tension so it’s not flopping all around. So, once you’ve done that, you’re ready to put your bike on your boat.